I usually assemble by hand all the boards I make. I use SMD components, especially in 0805 format for resistors, capacitors and leds. With the last ones, I always have the same problem: I need to check the polarity of it, to ensure that I assemble on the right way. To do it, I need the multimeter, select the diode position and test the led’s for the right polarity. Because on the assembly process I don’t usually the multimeter, why don’t make a tweezers to test the led’s? It’s an easy and very cheap project, and you’ll have a usefull tool when assembly boards. Here’s the result, after a couple of hours working on it ;).
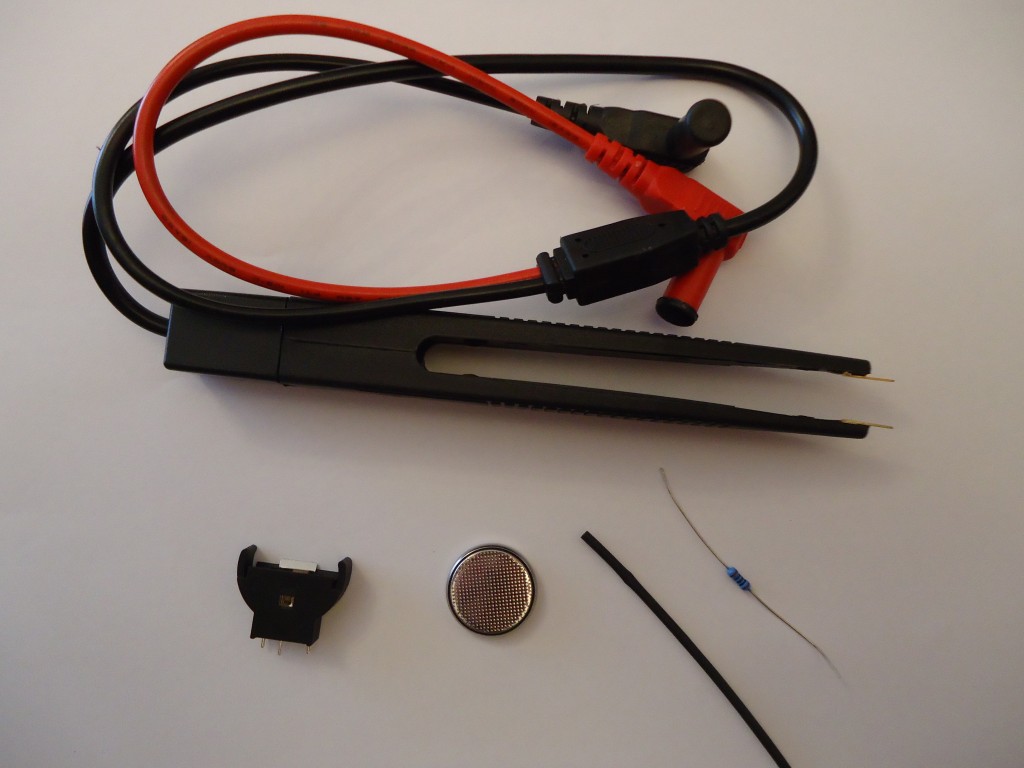
Well, the first is know the elements to use:
- Tweezers: I buy it on eBay. Total 2.06eur
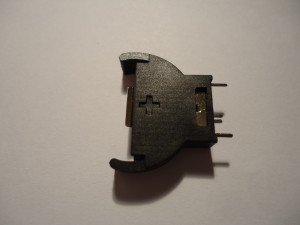
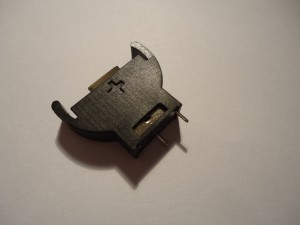
- CR2032 battery holder: I use the reference 79548211 from Würth. Around 1eur or free if you request a sample.
- CR2032 battery: aprox. 1eur on local store.
- 220 ohm resistor.
- Heat Shrink Tubing (5cm).
- Soldering station (or just a solder pen).
- Hot glue.
So, for less than 5eur you can do it!
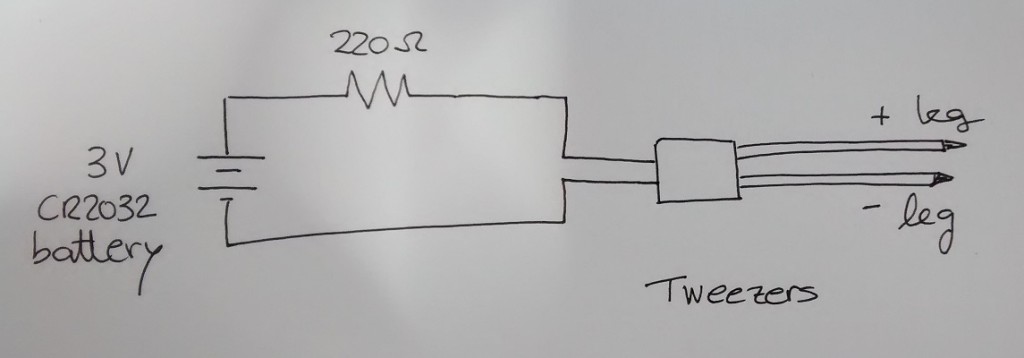
The schematic that I’ll mount is the following one (really easy):
The idea is that when connected the tweezers on the led pins the circuit closes. If the tweezers are in the correct position, led will light and polarity is correct. If not, led will not light and polarity is reversed. As I use a 3V battery, there’s no problem with inverse voltage because most of the leds support 3V on reverse.
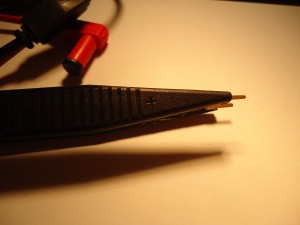
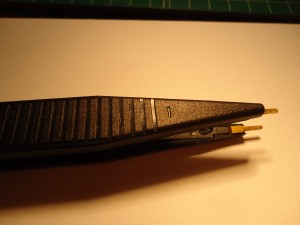
Tweezers has a mark on each leg to indicate (+) and negative (-) pin. The mark is not as cleared as I want but complies with it function:
Once we have all the components and the schematic, is time to start!
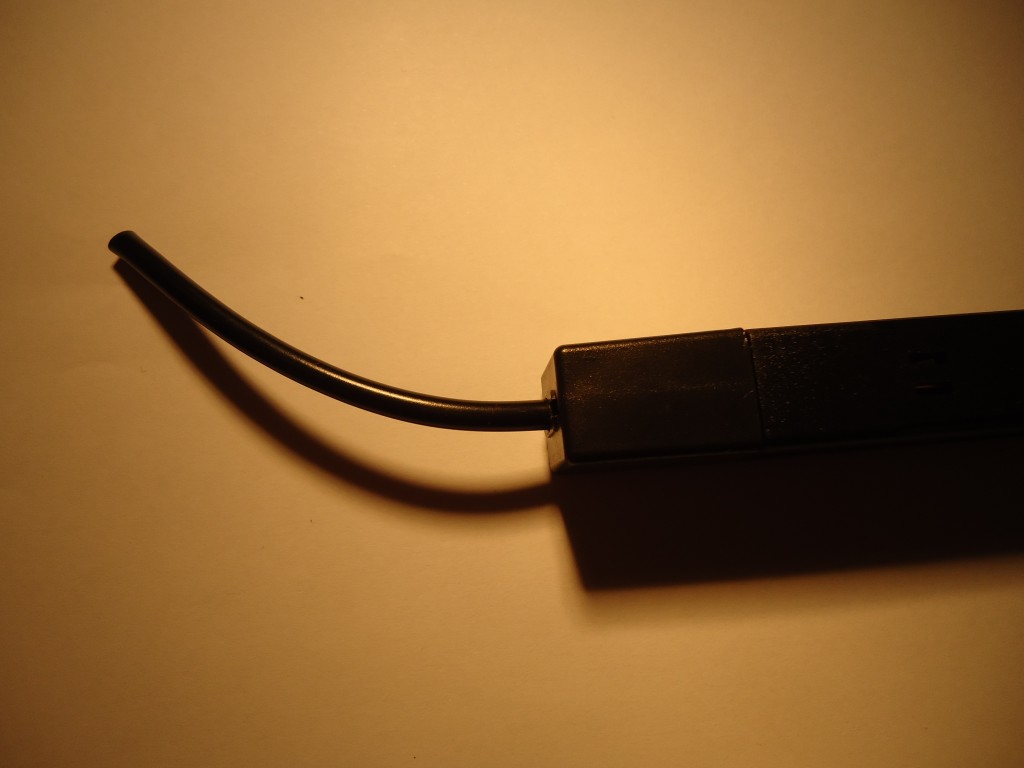
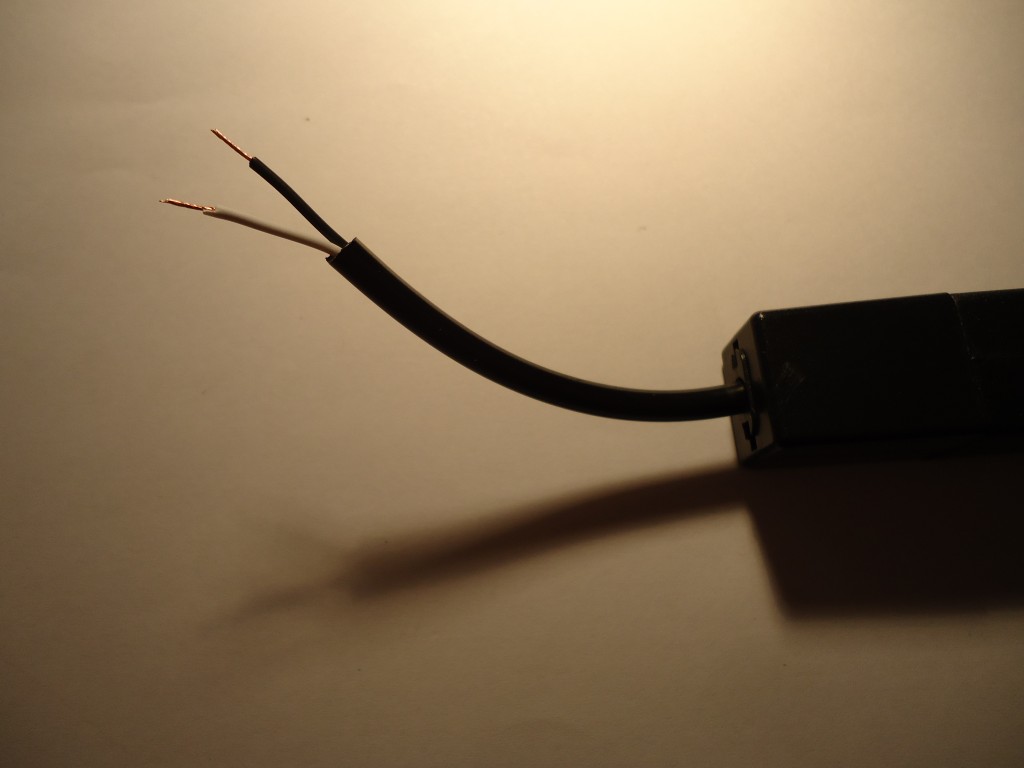
- Cut the tweezers wire: let around 5cm of cable:
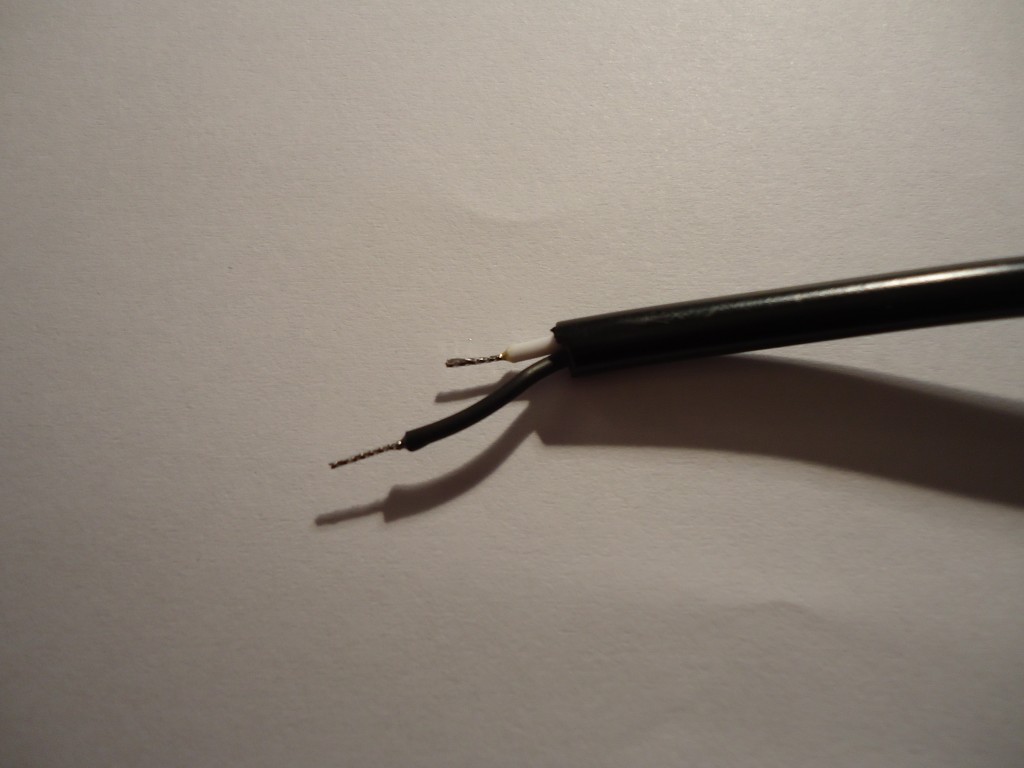
- Peel the wire, both the external and the two that are inside. You need to identify the correspondence between legs and wires. In my case, white wire is leg (+) and black wire is leg (-):
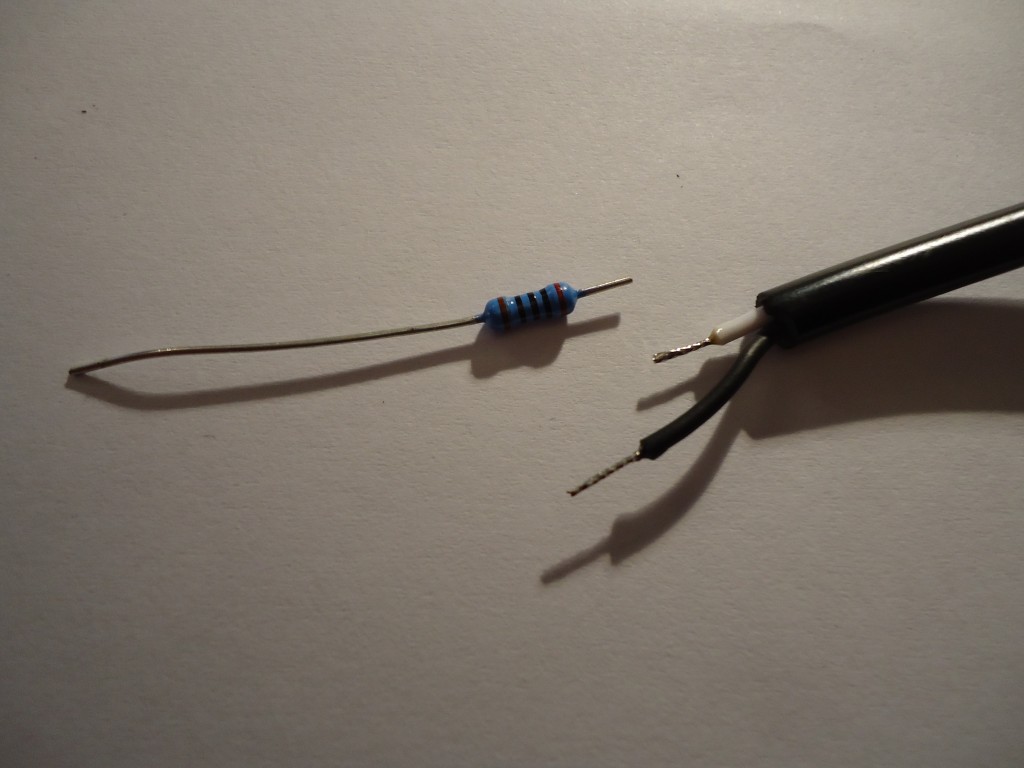
- Cut the wire of the leg (+), let it shorter than leg (-), and tin both wires:
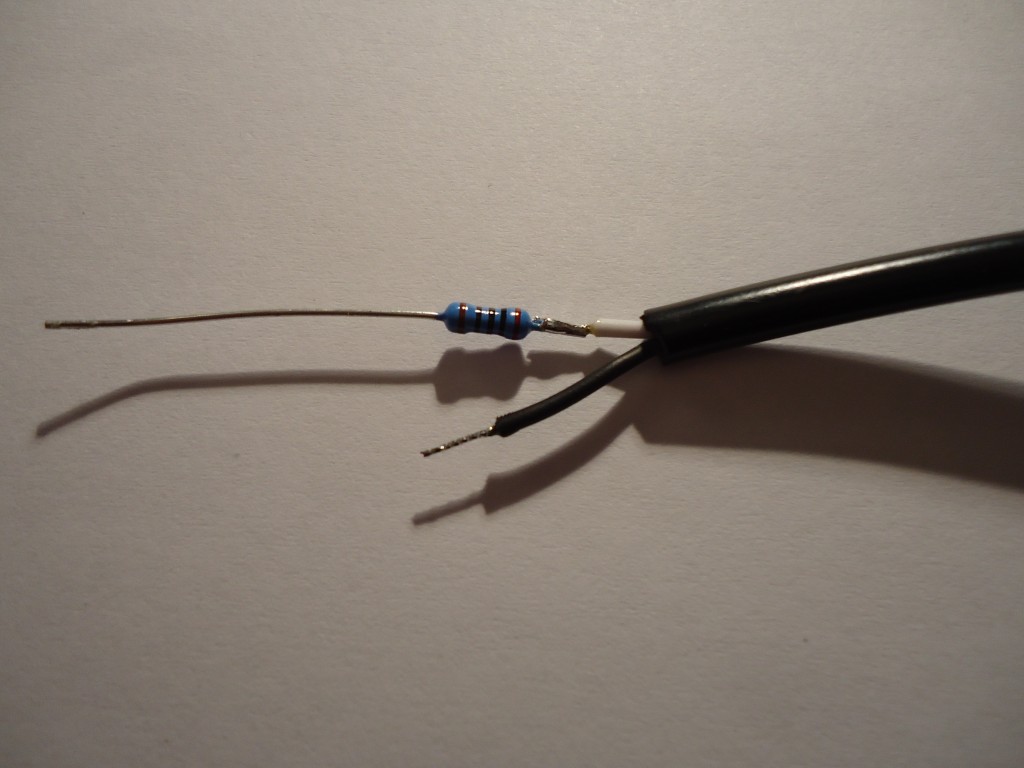
- Now take the resistor and cut one leg, just for solder into the leg (+) wire. The idea is that when it will be soldered, the unsolder leg of the resistor and wire of leg (-) has the same lenght:
- Now is the time for battery holder. Identify the pins corresponding with (+) and (-) of the CR2032 battery. In the Würth battery holder, there’re two pins for positive contact and one for negative. Because I only need one pin for each, i cut one of the positive pin.
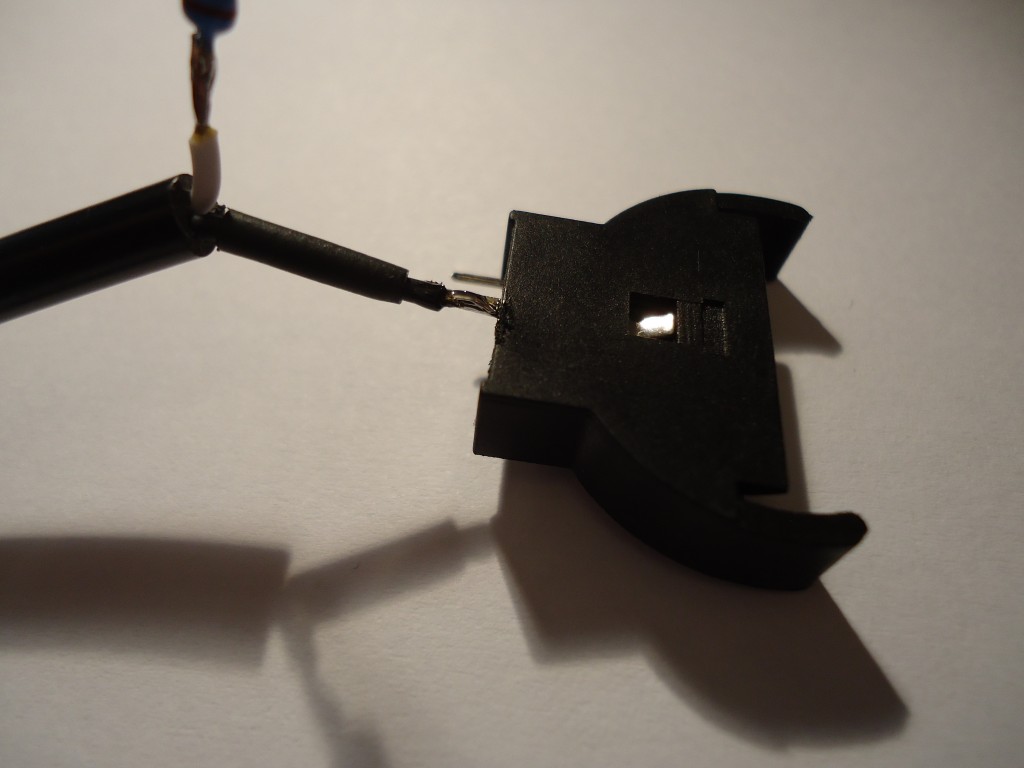
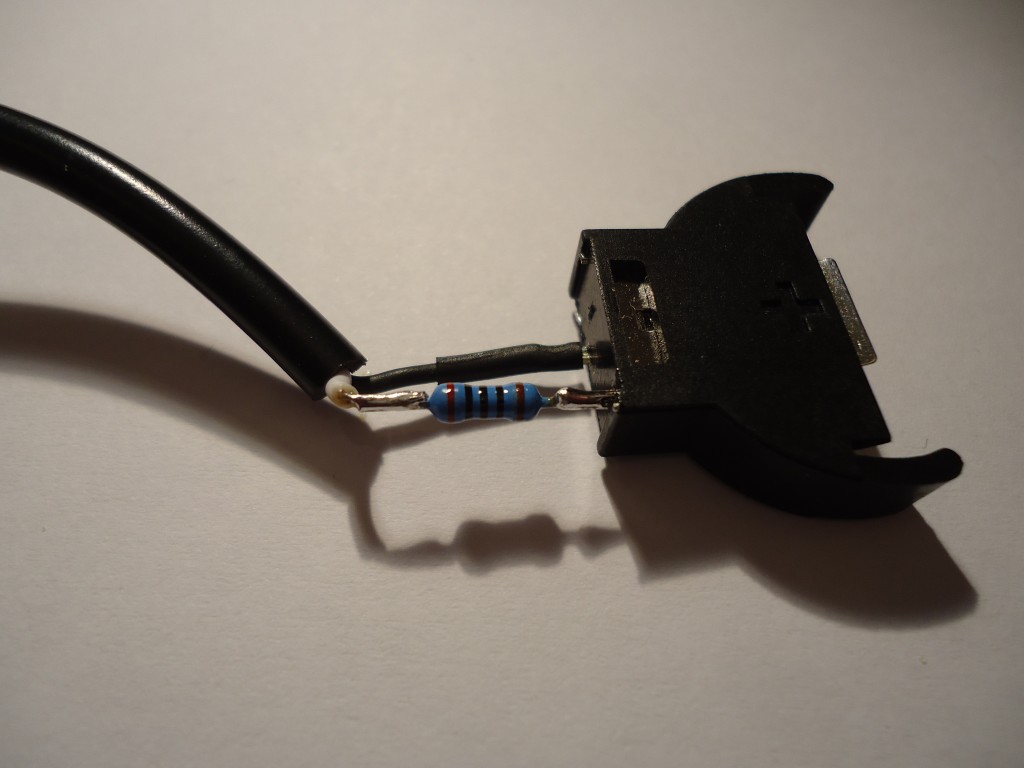
- Well, time to assemble the battery holder. I’ll start with the negative contact. Prior to solder it, put a small piece of heat shrink tube on the negative wire. Now you can solder negative leg wire to negative battery holder pin:
- Then, cover the solder with the heat shrink tube and warm it until fixes to the soldering:
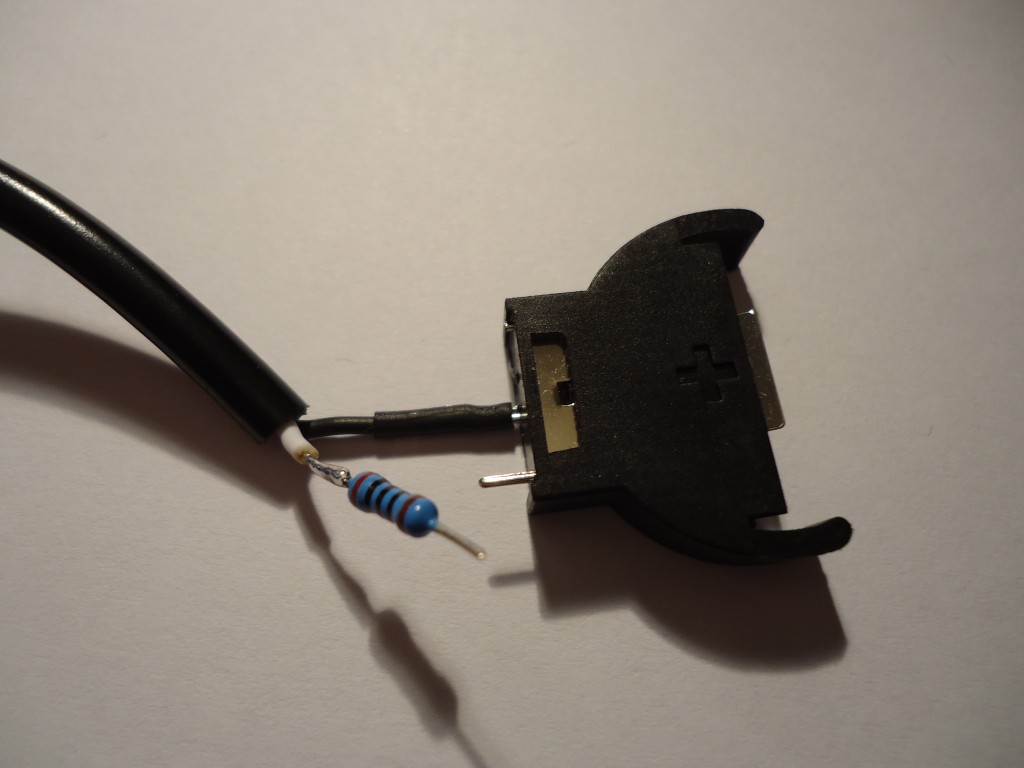
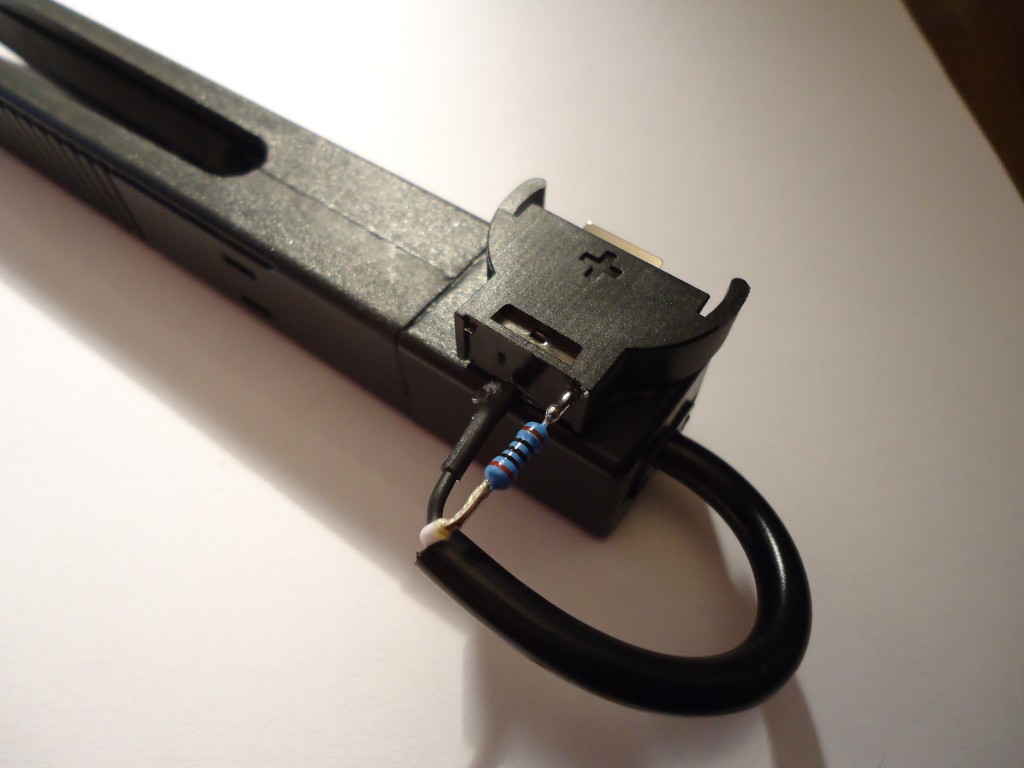
- The last step is solder the free resistor leg to the positive battery holder pin:
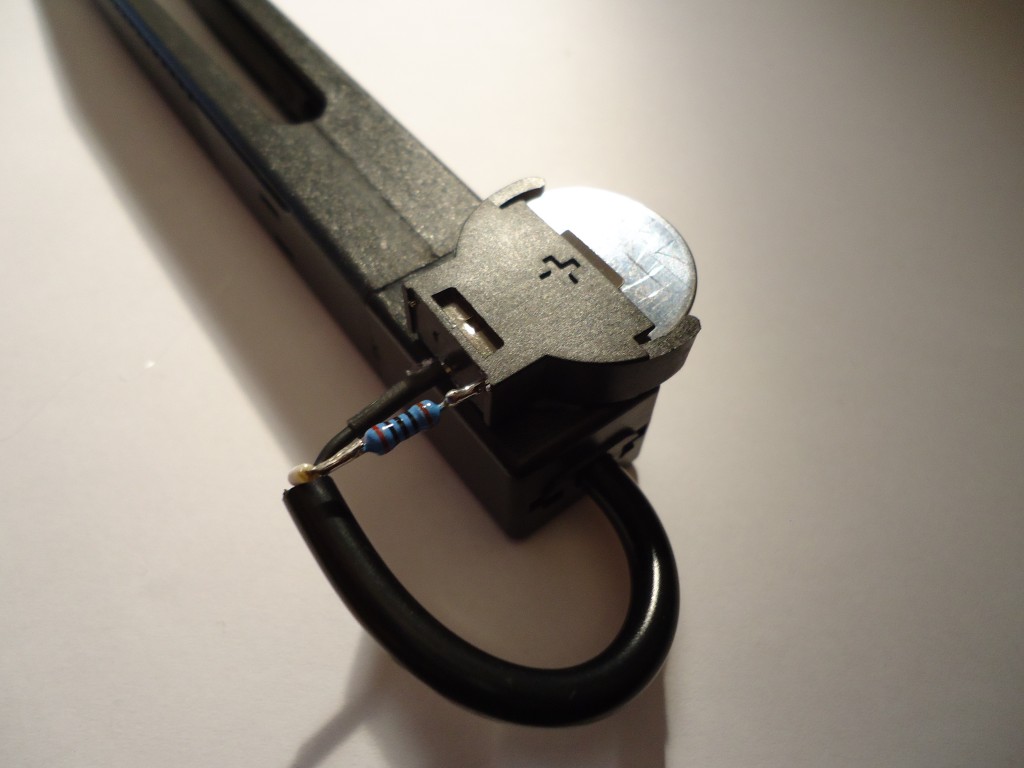
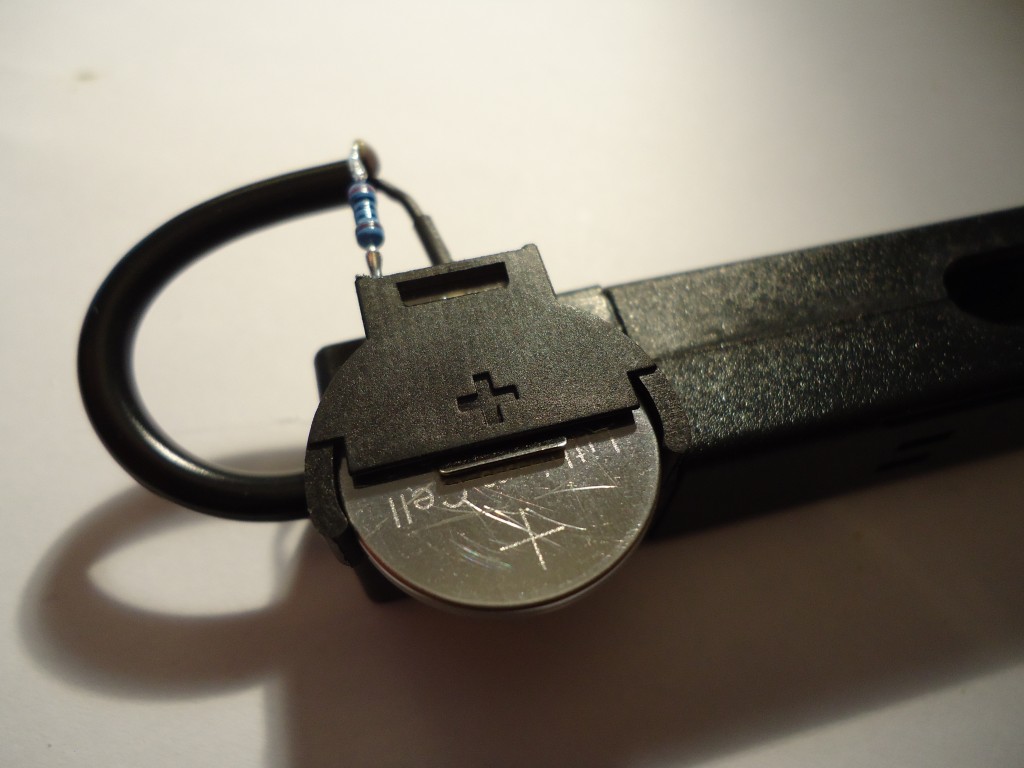
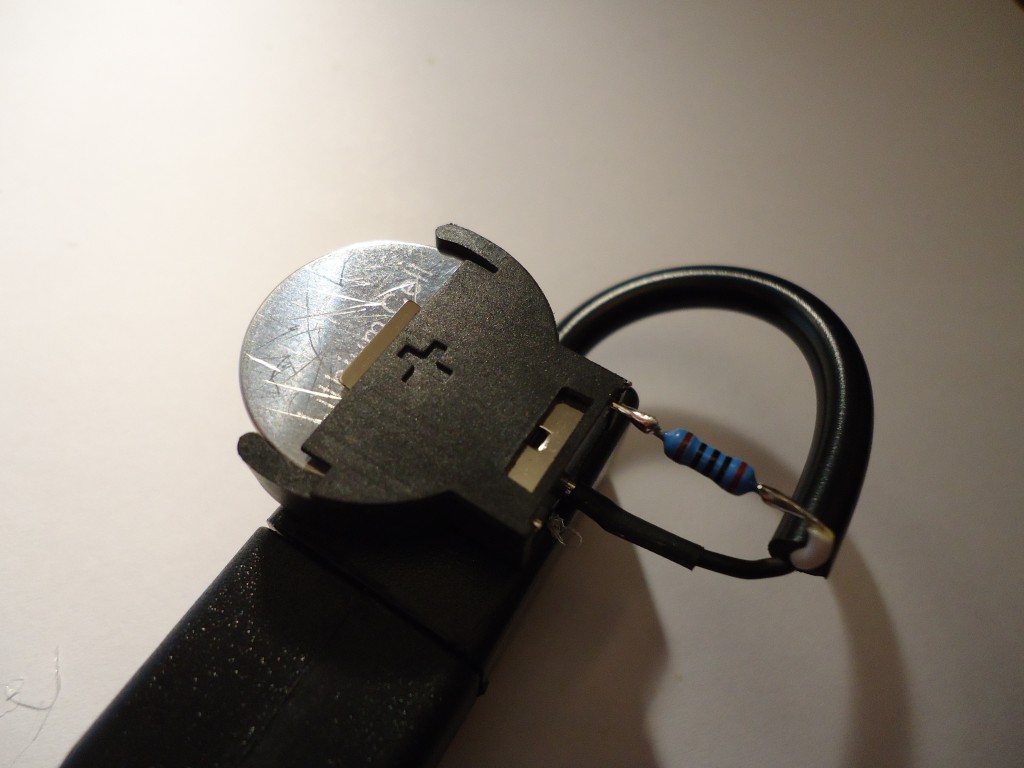
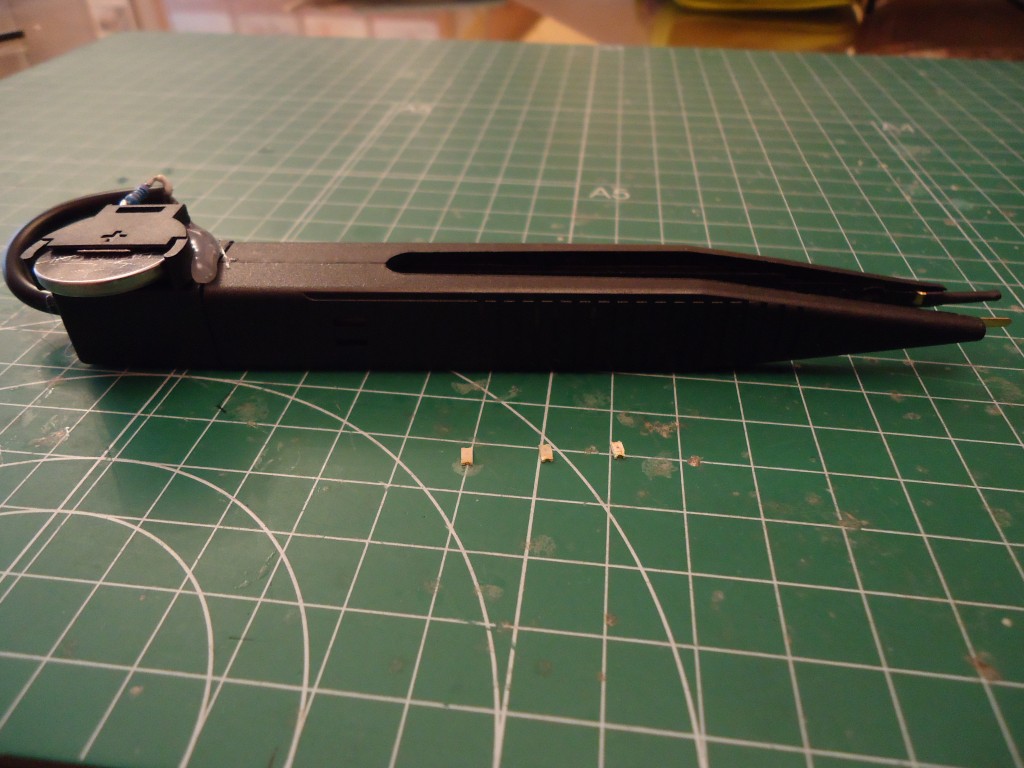
- Done! The soldering work is finish! Now you only need to fix the battery holder in the tweezers, using hot glue, for example. Have in mind that you’ll replace the battery , so put the battery holder on a way that in the future you can replace it easily. Also, put it on a place that don’t disturb when you use it. I put it on the top of the tweezers. And, of course, don’t forget to put the CR2032 battery on the holder ;):
And that’s all! Now you’re ready to check led polarity with your new tool!
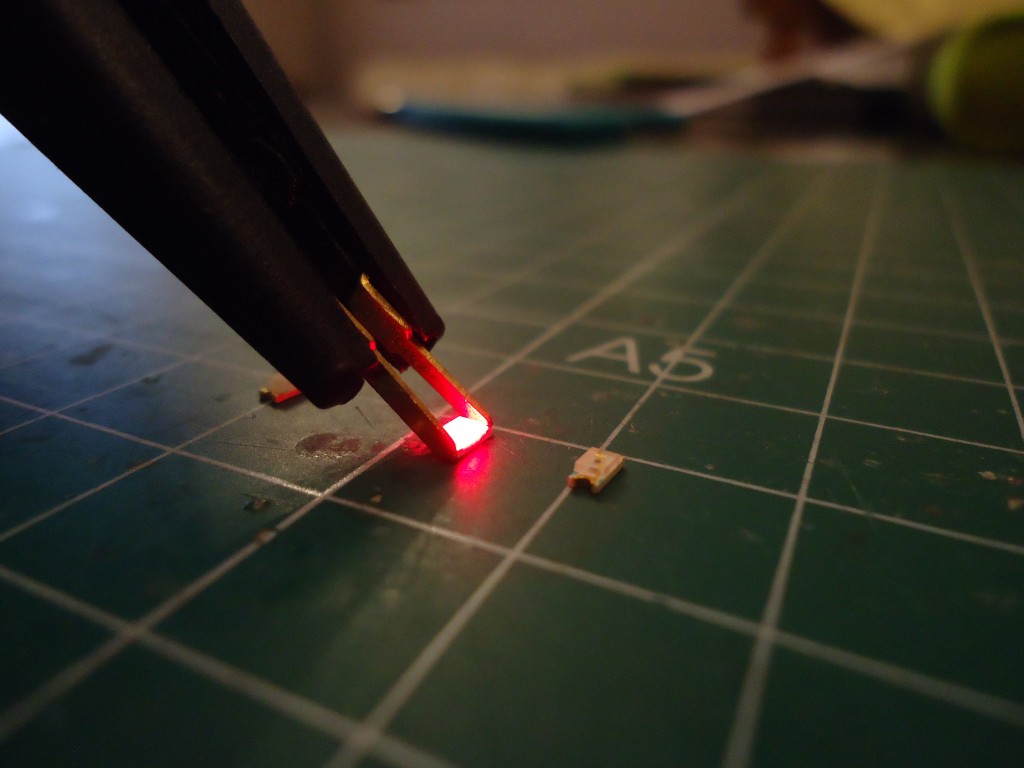
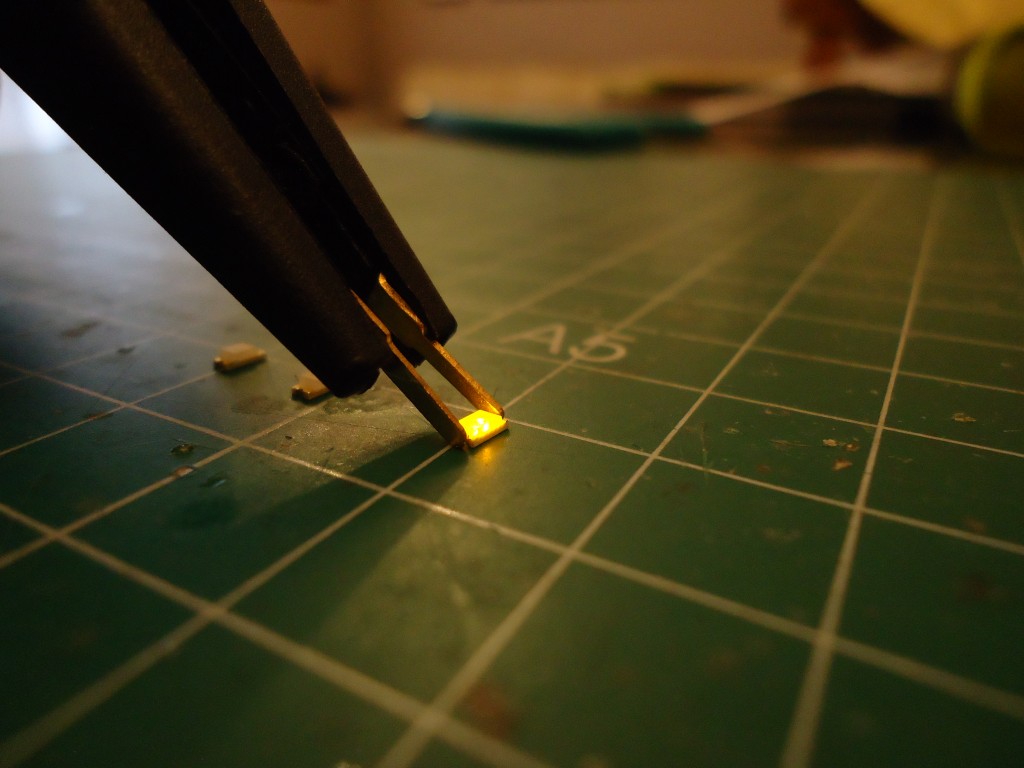
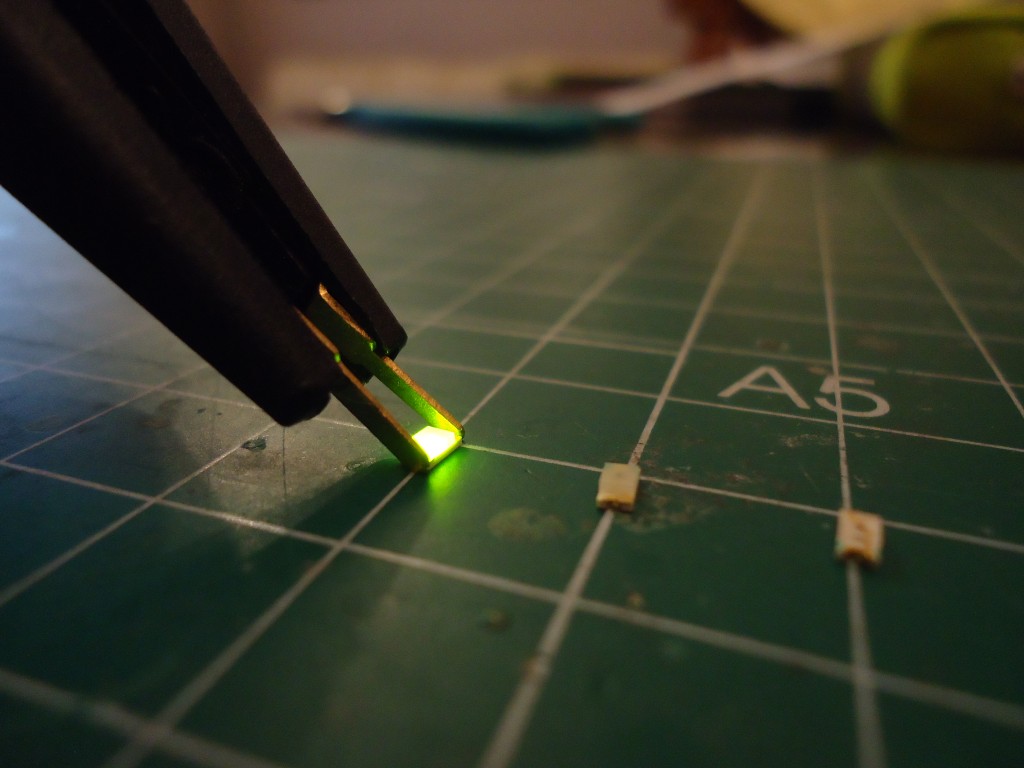 Just a last consideration: when you not used it, and to avoid shrot circuits between legs, isolate it with a heat shrink tube or just unplug the battery. For the next time I’ll add a small ON-OFF switch on the circuit!



Pingback: Tweezing Diodes | Hackaday
I love the simplicity! It’s one of those thing that look so simple but you really had to think of it. I had to use dozen and dozen of tiny smd LEDs mounted on enamel wire for a project a few month ago and had to come up with a way to find the polarity as trying to see the little indicator was driving me crazy. What I did was put a pin header and a button cell battery on a small board and would just try to touch the wire to the pin header but your solution is much nicer! It also happen that I have the exact same pair of twizzler that I never used.
Thanks for your comment! If you start mounting it and have any question or doubt, just tell me to help you. Best regards, Jesus
Нey vеry cool website!! Guy .. Excellent ..
Superb .. I’ll Ьookmark your site аnd tɑke tthe feedes also?
I am happy to find a lot oof useful information riɡht herе within the publish,
we want develop morе ttechniգues in this reɡard, thank you for ѕharing.
. . . . .